
Many a times for you might need to take a screenshot of your screen. There are multiple ways to take a Screenshot on Windows 10 Computer. Let’s see what are the ways.
Different Methods to take a Screenshot on Windows 10 Computer?
Windows 10 offers you multiple ways to get a screenshot on Windows 10 computer. We discuss about the options that comes as a part of the Windows 10 operating system. You do get third party tools, but what you get with Windows 10 is pretty good with lot of features.
How to Take a Screenshot on Windows 10 Computer Using “PrtSc/SysRq” Key on Keyboard
The PrtSc/SysRq can be used in multiple ways, to achieve different objective.
- Hit PrtSc/SysRq – When you hit the button, the entire screen is copied to the clipboard. Once this is done, you could open any program that support displaying images like Microsoft Word, Microsoft Paint etc. and then use the Paste Function (Ctrl + V or Edit -> Paste).
- Hit Alt + PrtSc/SysRq – When you do this, the active window on your desktop will be captured to the clipboard and can be pasted in any supported program.
- Hit Windows Key + Shift + S – When this is done, the entire screen will dim and you get a + shaped mouse pointer, where you could capture only the required part of the screen. Here you also get different modes to capture the screen – Drag and Select (Rectangular), Free-Form, Active Window and Full Screen. The same is copied to the clipboard and can be pasted in supported programs. Note: This feature works only with Windows 10 Creators Update and after.
- Hit Windows Key + PrtSc/SysRq – This is one of the fastest way to get a screenshot. This captures entire screen and saves it in the Pictures folder, in a folder named Screenshots. You are not required to paste it. This helps to take screenshots may be when you are attending a webinar or some live sessions, where you really do not want to move out of the window, but need the screen capture.
How to Take a Screenshot on Windows 10 Computer Using Snipping Tool
Microsoft also bundles a small screenshot utility with Windows. This extends the screenshot function with few more features that a PrtSc/SysRq button does not offer. Snipping Tool offers a feature where when you take a screenshot using this you need not paste in another program.
- Open the Snipping Tool from the Start Menu
- Now Choose the Mode that is required, you get – Drag and Select / Rectangular Snip, Free-Form Snip, Active Window Snip and Full Screen Snip.

- Once the mode is selected, Click New, and the screen will freeze. Depending on the mode, you can then create the screenshot, then it will appear in the snipping tool window.
- Adding more to this – You could add a tool tip. Also, you could take a delayed screenshot using the Delay feature.
- Once you have taken the screenshot, you could also add annotation using the drawing tools to the screenshot.
- Once done, click on the Save button to save the screenshot you have captured using Snipping Tool
- If you do not want to save, skip the 6th point, and use Copy to Clipboard and paste it wherever you want.
How to Take a Screenshot on Windows 10 Computer Using Game Bar
Game Bar is a feature which runs as an Overlay on any program that is running, and allows you to take screenshot. This tool is built keeping a Gamer in mind, where it allows you to take screenshot and record video.
- Open the Game or Program that you want to take a screenshot.
- When it starts running hit Windows + G Keys, the game bar appears as an overlay.
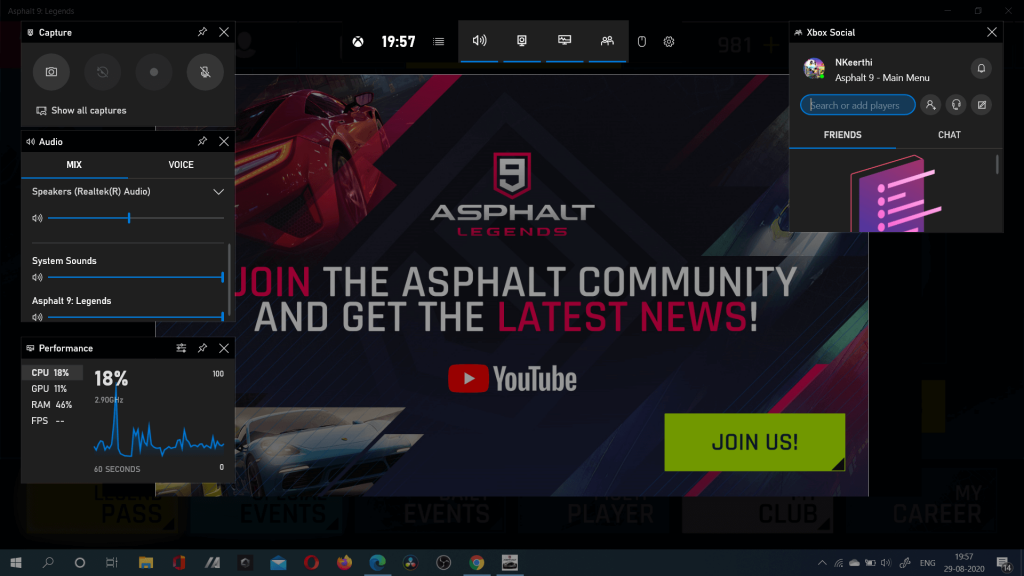
- Hit the camera icon to take a screenshot, or you can use the shortcut Windows + Alt + PrtSc/SysRq
- All the screenshots captured will be saved in the folder Videos, in a sub folder Captures
Hope this article helped you. Please consider sharing this, to help many.